Sending a Campaign
Learn how to schedule an email and review our checklist to make sure everything is perfect before you hit send.
Review page
In the editor, click on the Review button at the top right. This will bring you to the Review page, where you can choose your audience, subject line, preheader text, and more.
Recipients
Select groups, segments, or type in individual email addresses. Read Importing Your Audience to learn how to import contacts and create groups.
Preheader Text
Optional text that appears in inbox previews but not in the email itself. If left blank, inboxes will use the first line of your email, which may not be ideal.
Sender and Reply-to Details
Your default sender name and email will appear but can be updated for this campaign. You can also add a reply-to address or set new sender details as your account default.
Scheduling Your Email
You can make changes before the scheduled send time, but remember that once the email is sent, it cannot be recalled or edited.
- Click the "Review" button at the top right.
- Confirm the selected audience, subject line, and preheader text.
- Select group(s) to send the email to.
- Type your subject line.
- Add preheader text.
- Verify sender and reply-to details.
- Click "Schedule for later" and choose a future send time.
- ALWAYS schedule at least 2 hours in advance a few days in advance for emails being sent on weekends to ensure time for the Web Content Team to approve.
Web Content Approval
If your email requires Web Content approval, the designated team members will review the email for alt text, branding, and other details. If everything checks out, they'll approve the email for sending at the scheduled time.
If there are issues, they’ll provide feedback for corrections. Once fixed, the Web Content team will re-review and approve the email for release.
Pre-Send Checklist
Before you schedule your email and send it off for approval, make sure you use our Pre-Send Checklist to make sure everything is good to go.
| CHECKLIST | |
| Preview the campaign. Make sure it looks how you intended in both mobile and desktop. | |
| Ensure all images have alt text. This is an accessibility requirement. | |
Check spelling and grammar of: - Subject line | |
Send a test to confirm: - All links behind text, images, and buttons work and lead to the correct destination. | |
| Check the audience to confirm that you've chosen the correct contacts, groups, or segments. | |
| Check the reply-to address and confirm that it's correct. | |
| Have another person check the campaign for errors. |
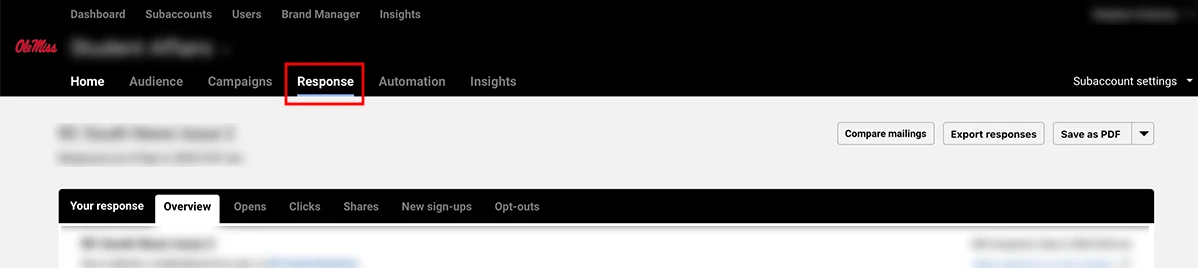
Response Tab
The Response tab in MyEmma is your go-to place for tracking the performance of your email campaigns.
Here, you can view key metrics like delivery rates, open rates, and click rates, giving you a comprehensive overview of how well your emails are resonating with your audience.
Most marketing emails are opened within the first 48-72 hours after the email was sent, so it's expected that the bulk of your response data will fall within that time. However, those totals will continue to adjust even after the 48-72 hour window.
Exporting Response Data
A mailing’s response is available for 18 months after the mailing has been sent. Then, the data is deleted from your account, and is no longer available. If you want to keep your response information after 18 months, then click the “Save as PDF” button (upper right) while viewing your responses.
Understanding Response Data
The Clicks tab displays the list of recipients who clicked specific content in your message, such as images and links.
- Clicks represent both unique and total clicks in your campaign. Unique clicks count only the first click from each person, while total clicks include multiple clicks on the same links.
- Use Click Analysis to view a map of click patterns, or switch to List view for a detailed breakdown of clicks by link.
Displays the recipients who have clicked the unsubscribe link that may appear in some email clients.
Note: We cannot send to recipients who unsubscribed as it is against the CANSpam Act.
Still Need Help?
Whether you're working in Cascade, MyEmma, or the Event Calendar, the Web Content team is here to help you get your message out there.